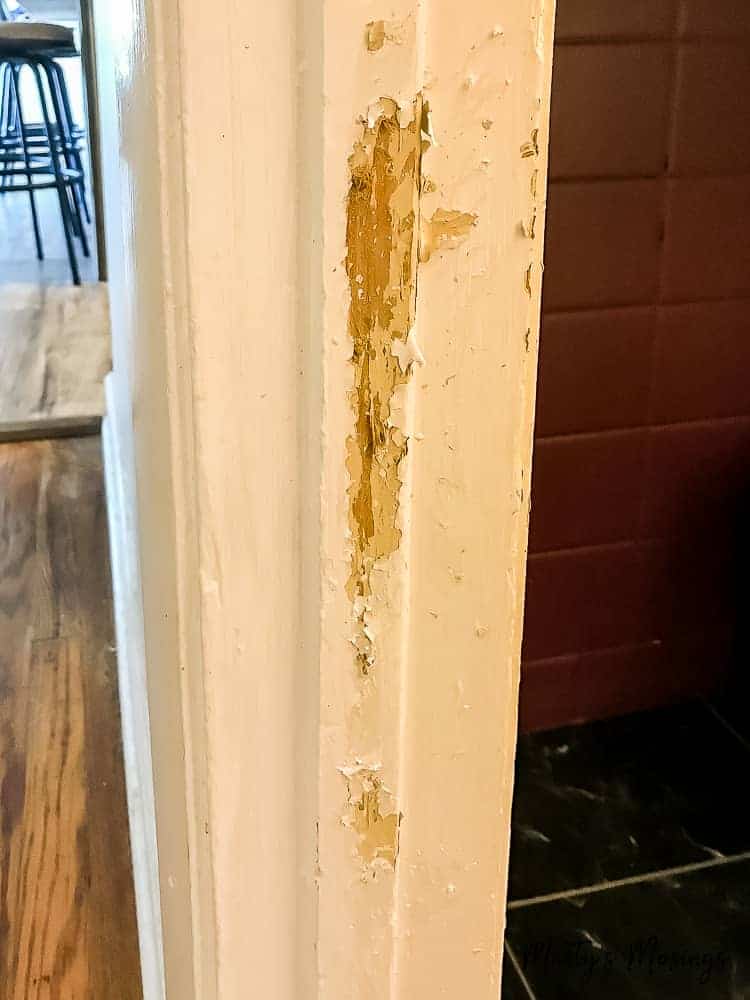
Have you ever walked into a room only to be greeted by unsightly scratches on your walls or cabinets courtesy of your furry friend? If so, don’t panic! In this article, we will show you how to fix these damaged areas so that they look brand new again.
We all adore our pets, but sometimes they can leave their mark on our homes. Whether it’s a dog who loves to chew on walls or a cat using them as a scratching post, these tips will help you repair the damage caused by your beloved pet. Additionally, the steps outlined here can be applied to fix other types of damage you might encounter in your home.
Instructions
Step 1: Sand any raised and damaged spots on the drywall.
The first step in repairing cat scratches on walls is to sand down any raised or damaged areas. Grab a coarse sanding block or sandpaper and gently smooth out the surface, removing any high spots or debris. The goal is to create a smooth and even wall.
Step 2: Use wood filler or Bondo to fill in the holes.
To fill in the scratches and holes left by your cat, you can choose between two products: wood filler or Bondo All Purpose Putty. If you opt for Bondo, mix the two products included in the package and apply the mixture immediately before it hardens. For smaller areas, you can use Wall Repair Spackling and Primer straight out of the container. Use a scraper or putty knife to spread the compound into and around the hole, ensuring that you overfill it slightly. Aim for a flat surface with minimal imperfections.
Step 3: Let the repaired area dry.
The drying time will vary depending on the product used. It’s important to wait until the compound is fully dry before moving on to the next step. If you’re in a hurry, you can use a hairdryer on a low setting, but avoid using a heat gun that may damage the wall.
Step 4: Sand the repaired spot.
Take a sanding block or sandpaper and gently sand the repaired area. Be careful not to oversand, as the goal is to create a smooth patch that blends seamlessly with the surrounding wall. Sand until you can no longer see or feel any bumps or valleys, ensuring a flawless finish.
Step 5: Prime and paint.
To ensure a seamless repair, prime the patched area before painting. You can use an aerosol primer like Kilz or Zinser, or opt for a brush-on primer such as KILZ Adhesion Primer. Whichever method you choose, make sure to protect the floor from any overspray. After priming, paint the area using a small container of interior paint that matches the color of the surrounding wall. Blend the paint carefully to avoid any seams or evidence of the joint compound.

Image source: Pawsoha
Frequently Asked Questions
Q: Can I use a different product instead of wood filler or Bondo?
A: While wood filler or Bondo are commonly used for wall repairs, there are other alternatives available on the market. However, it’s important to choose a product specifically designed for repairing walls to ensure a long-lasting fix.
Q: How long does it take for the patched area to dry?
A: The drying time will depend on the specific product used. Read the instructions provided by the manufacturer to determine the recommended drying time.
Q: Will the repaired spot be completely invisible?
A: With proper sanding, priming, and painting techniques, the repaired spot should blend seamlessly with the rest of the wall, making it difficult to detect.
Q: Can I use leftover interior paint for touch-ups?
A: Using leftover interior paint for touch-ups is a great idea! Just make sure the paint is still in good condition and matches the color of the wall.
Conclusion
Repairing cat scratches on walls is a manageable task that requires some patience and the right materials. By following these steps, you can restore your walls to their former glory and eliminate any signs of damage caused by your furry friends. Remember to approach the process with care and precision to achieve the best results. For more pet-related tips and advice, visit Pawsoha. Happy repairing!